HubSpot Workflow Tutorial: Ticket SLAs & Task Automation

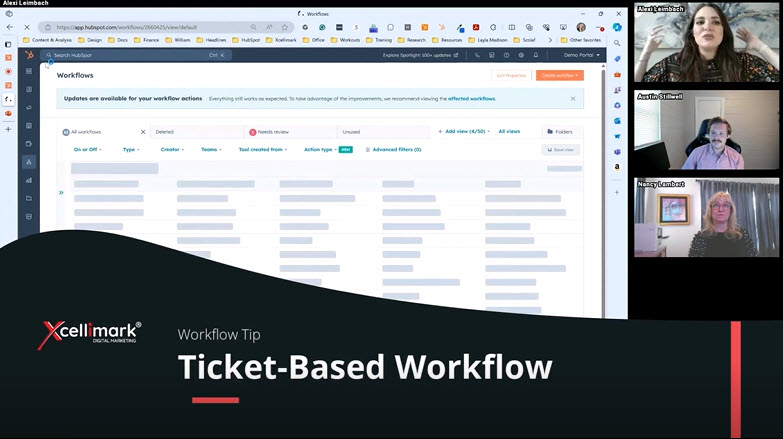
In the latest ‘How to HubSpot’ series installment, we’re tackling the creation of a ticket-based workflow, an increasingly relevant tool with the introduction of several new features in HubSpot’s Service Hub. This tutorial is designed for service-oriented teams, such as those in a help desk environment, who need to manage tickets based on priority levels and ensure adherence to Service Level Agreements (SLAs).
Video Overview
- How to create a ticket-based workflow in the HubSpot CRM: This tutorial walks you through using tickets to handle customer service requests, taking into account their source, priority, and status. This tutorial focuses on creating tasks and email notifications based on ticket priority, which can be high, medium, or low, but it doesn't cover setting the ticket priority itself.
- How to create a trigger based on the ticket source: The tutorial shows how to sort tickets based on their source, like chat, email, or form, while leaving out those from phone calls.
- How to create a branch based on the ticket priority: This tutorial uses the priority setting to create a branch for each priority level. This branch helps decide when the task is due, how important it is, and who will be responsible for it.
- How to create a delay and a branch based on the ticket status: The tutorial shows how to use a delay to check in on the ticket status after some time, depending on its priority. It also demonstrates how to use a branch action to see if the ticket is closed. If it's still open, a friendly email reminder is sent to the task owner.
- How to use copy-and-paste actions to save time and avoid errors: The tutorial shows you how to easily copy and paste actions to apply the same workflow logic across different priority levels. It also recommends using action sets to simply drag and drop predefined actions into your workflow.
Creating a Workflow for Ticket SLAs & Task Automation
This workflow is centered around ticket priorities—high, medium, or low—and the corresponding tasks that need to be completed within specific time frames. For high-priority tickets, immediate action is required; medium-priority tickets have a 24-hour window for resolution, and low-priority tickets are given 48 hours.
The goal is to automate task assignments to ticket owners with clear deadlines and to follow up on ticket statuses after the SLA period has passed. If a low-priority ticket remains open after three days, the workflow will trigger an internal email notification to the ticket owner, prompting them to address the overdue ticket.
To set up this workflow, we start with a ticket-based approach, focusing on the ticket source as the trigger. Different sources—such as chat, email, and forms—have specific SLAs, and our workflow will cater to these. We exclude phone sources from this workflow as they are handled differently.
The next step involves creating branches based on the ticket’s priority level. HubSpot’s single property value branching feature allows us to efficiently create branches for each priority level. For each branch, we then set up tasks with due dates aligned with the SLA rules.
For low-priority tickets, we create a task due in 48 hours and set a delay for three days before checking the ticket status. If the ticket is still open, an internal email notification is sent to the ticket owner. This process is replicated for medium and high-priority tickets, with adjusted timelines according to their respective SLAs.
By leveraging HubSpot’s workflow features, service teams can reduce manual work, minimize the risk of human error, and ensure that every ticket is handled with the appropriate level of attention and urgency.
Stay with Xcellimark as we continue to provide valuable insights and tutorials on HubSpot CRM. Whether you’re a seasoned HubSpot user or new to the platform, our series is designed to help you navigate the complexities of workflows with confidence and ease.


